
Tool Review: FTK Imager
A full breakdown of my experience using FTK Imager

Hello Internet, Matt from Forensics with Matt here. In today’s post, I will talk about my experience with the FTK Imager. I will talk about how to get ithow to use it to acquire disk and memory images. Without further adieu, let’s get into this.

How to Get FTK Imager
For today’s post, we will be using the newest version of FTK Imager found on FTK Imager’s site, through Exterro. (The link I put in may not be active when newer versions release.) Click the “FTK Imager [VERSION]” button under the “Product Downloads” section of the page.
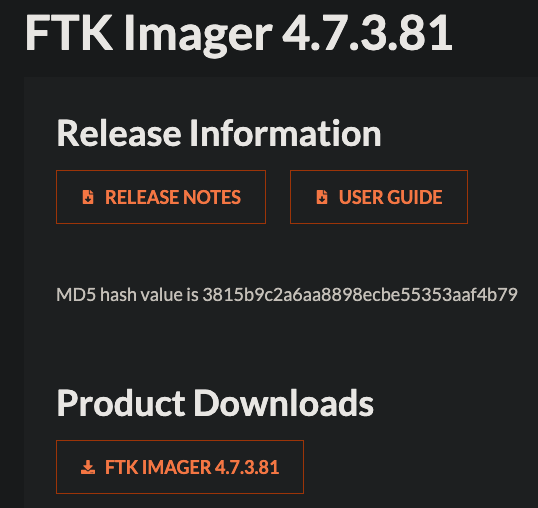
Figure 1: FTK Imager downloads page.
Doing so will take you to a page to sign up to get the download. Sign up, get the download in an email, and install it.
Initial Step: Getting Started and Importing Things
The image below is what you see when you first open the software.

Figure 2: Initial screenshot.
There is nothing in the beginning at the beginning so you must either add evidence in order to begin. You can do so by pressing File → Add Evidence Item . This will bring up a screen that allows you to pick the image type you want to import. You can import a Physical Drive, Logical Drive, Image File, or Contents of a folder. Physical drives are the disks on your computer, logical drives are formatted sections of a physical disk and images are what is generated by a software when it reads and exports the result for other software to use. For this post, I have mostly used the Open Image Option to analyze evidence.
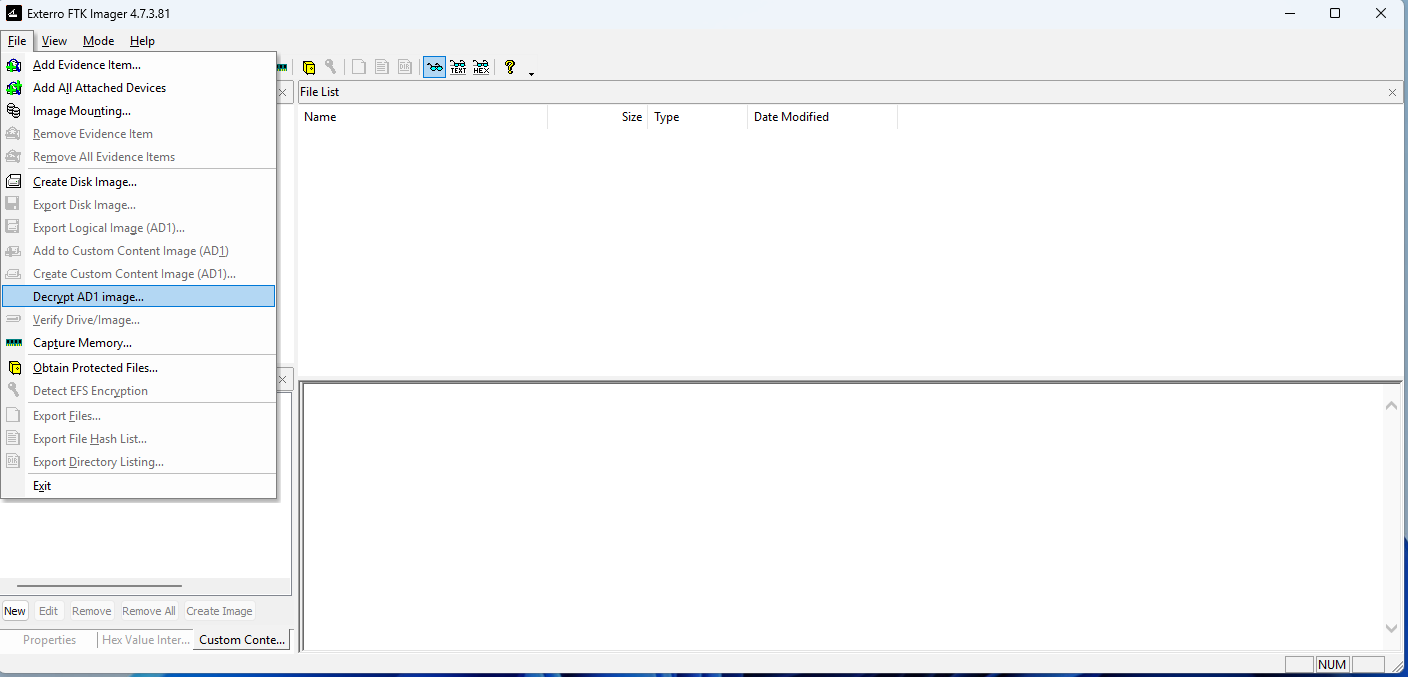
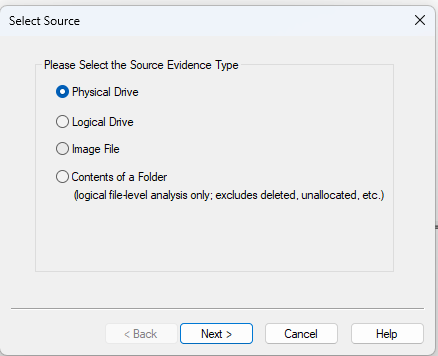
Figure 3: FTK Imager Open Image options.
Once the Next button is clicked, the examiner will be able to choose the desired files to import and import them. Figure 4 shows acouple of files I imported
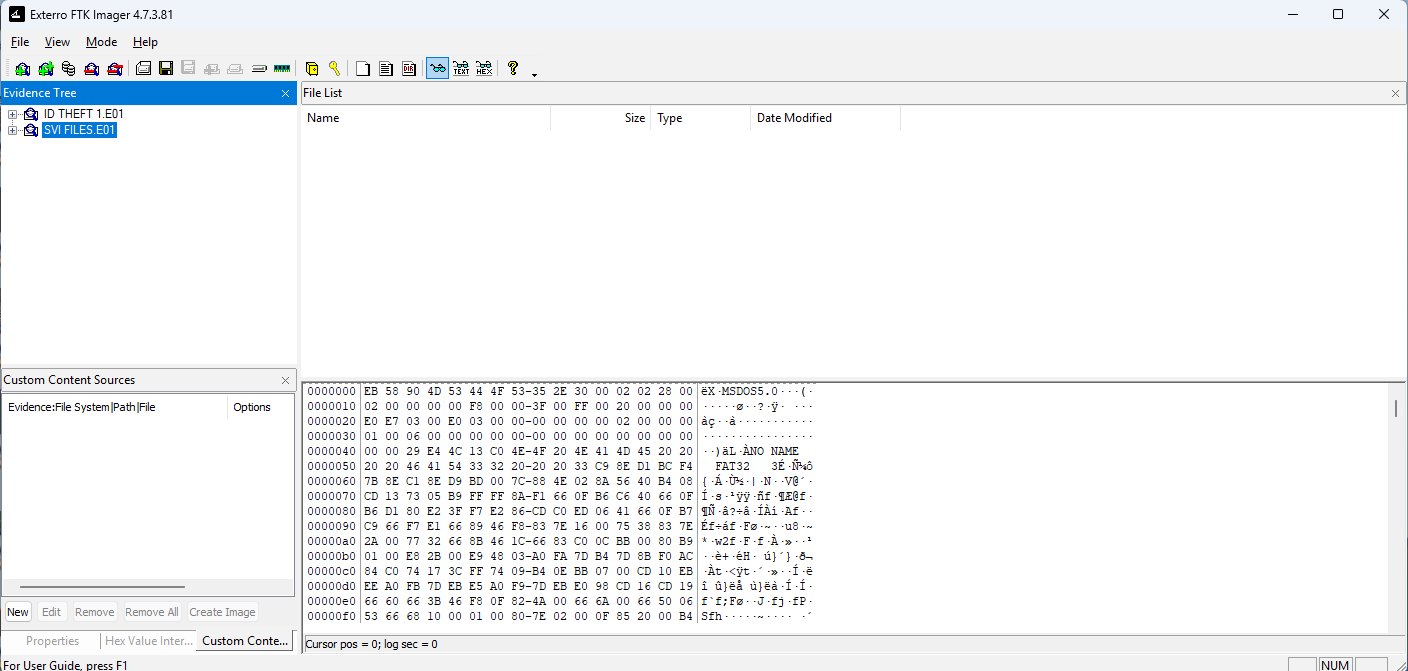
Figure 4: Imported images.
Creating New Images
In regards to the Create Image option, an examiner is able to make an image of a certain think. FOr instance, an examiner can make an image of a physical disk if he or she has a device plugged into the computer. The examiner can also make an image of a logical partition of a drive if only a certain section of data is needed. Examiners can also choose to convert images between formats by using creating an image from a file.
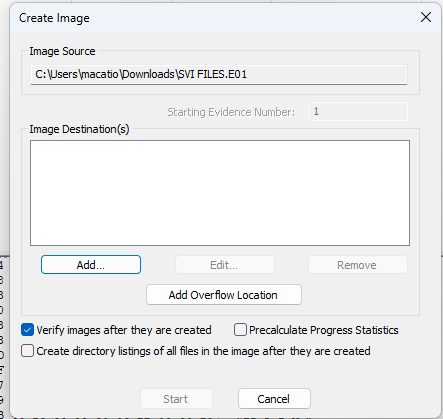
I will demonstrate the option to create images below. It begins similarly to the importing of images above. This time, though, there are extra steps. The second screenshot in figure 3 is where I will begin. The Create Image option begins with a screen just like it (shown below).

After selecting a file, the examiner will be taken to an image creation screen where there will be options to add image locations of different types
An examiner using this software can create raw (dd) images, SMART images, E[xx] images (this file type will be explained later on) and AFF images. Each of these file types have their own strengths and weaknesses, which are generally out of the scope of this article. I will use the example of an E[xx] file for explanation of the file creation process.
When selected, the E01 option will give the exminer the ability to split a large image into many smaller images for easier storage (especially on legacy systems with stricter file size requirements). Each of these files will have a file extension increasing from E01 → E[n] where n is the highest numbered chunk of the file. The default chunk size is 1.5 GB.
An examiner may also compress the files further to save even more space. In the version that I have installed, the default compression is high at a value of 6 (on a range of 1 = fastest → 9 = smallest). The images below show the process of creating a new image.
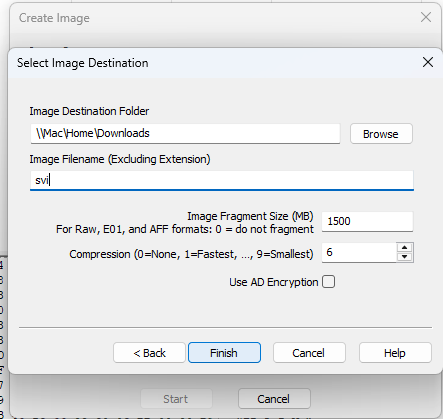
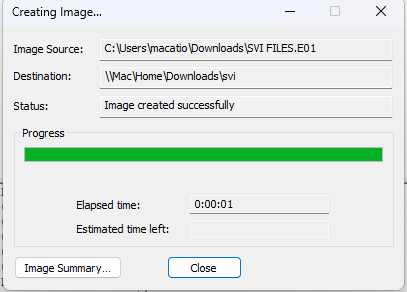
Figure 5: A created image.
Capturing RAM
In FTK Imager, there is also an option to capture the volatile memory of a device. This is an awesome addition to the software because it is unlike most other free software in that others don’t really have the ability to capture RAM. The process of memory capture is quite easy to perform, just like all other things in FTK Imager, an examiner just needs to click on Capture Memory to get started.
The Capture Memory option opens a Memory Capture window where the examiner can choose where to put the memory capture. This capture can also contain a Windows pagefile by selecting that option. The examiner can also choose to make the file type an AD1, FTK Imager’s default type.
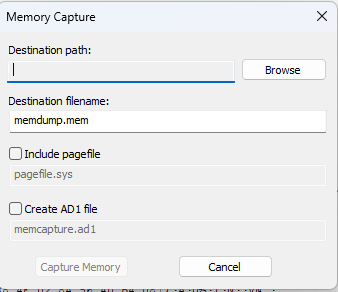
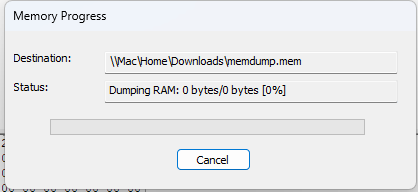
Figure 6: RAM Capture.
Conclusion
In conclusion, today we talked about the main features of FTK Imager. These were the trio of things every examiner may need this software for: capturing images of hardware, reading images, and capturing main memory of a computer. These are some of the most important first steps of any investigation.
I will discuss more of FTK Imager’s features in future posts. If you enjoyed this post, be sure to like, comment and subscribe. Subscriptions are very valued and help to get this out to more people.
Thank you for reading. Until next time, this has been Matt from Forensics with Matt, talking about the firest steps of FTK Imager. Until Next time, Matt OUT!