


All Together Now: iOS Unified Logs I
A detailed guide to acquiring, parsing, and making sens of iOS unified logs.

Hello all, I am Matthew from Forensics with Matt and I will be writing about the iOS unified logs in today’s blog post. It has been a while since I have published a post on mobile forensics. Let me change that by doing this article.
I will probably follow this up by publishing another one on the logs going into more depth on the logs after this one. I just planned for this one to contain the reasons we want to find them, the tools we can use to find them, and a small detail on the data they contain. In the next post about this, I will go into greater detail onto the specifics of the data found in the iOS Unified Logs.
Without further adieu, let’s get into the content of this post.
What are iOS Unified Logs?
If you’ve been studying and working in mobile forensics for a while now, you will know of several key areas that hold logs of system events. Two of these areas are known as the knowledgeC.db database and the Biome artifacts. Each of these areas hold similar data that is held in different formats. The database holds columns of data and the Biome holds data in a special, proprietary format called SEGB.
SEGB is a very interesting data storage format. Normally, it can be difficult to read. A normal file with SEGB format will not be easily opened . To open one of these files, it is almost necessary to open them in a hex editor or parse them with special tools. This is made possible because these files have no real file extension and are consequently not bound to any program for opening. Having no program to open quickly can be a problem if one does not have a hex editor installed. Ir is possible to open these files in a normal text editor or programming environment with no guarantee of you being able to see anythinguseful. For example, I’ll show the ‘Now Playing’ biome file from an iPhone I have that I opened in a basic text editor.
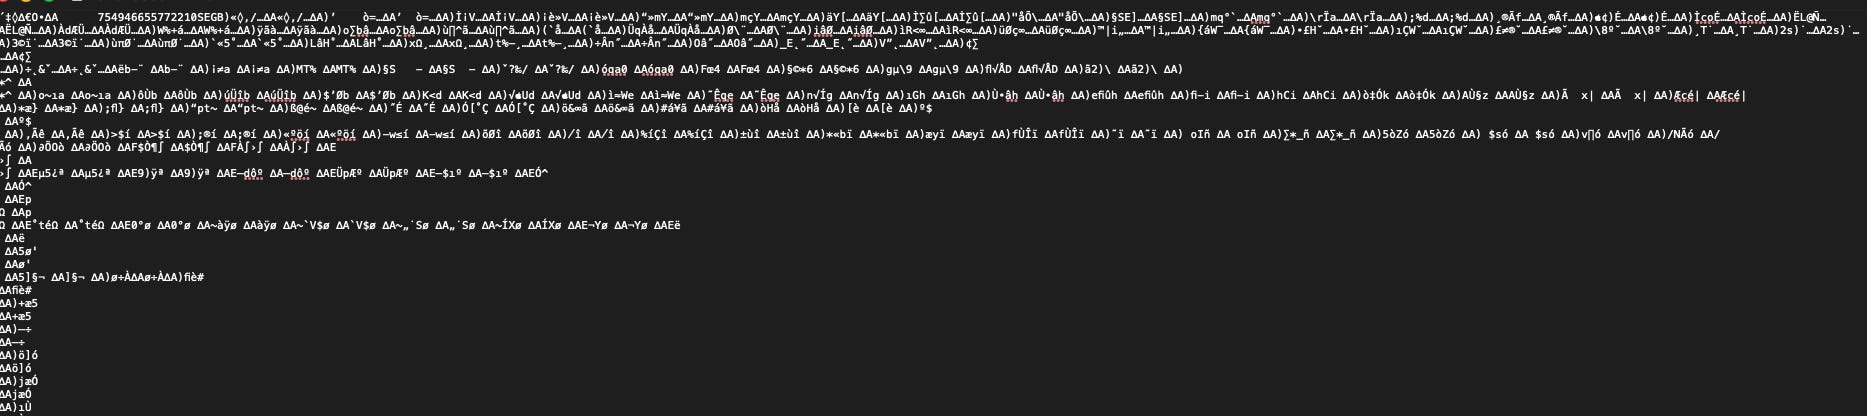
Once one sees the data within a Biome SEGB file, he/she will see a file header with SEGB written in it and, after scrolling, will see some data of the purpose of the file you’re opening. I added an example from the ‘Now Playing’ Biome feed in /private/var/mobile/Library/Biome/streams/public/NowPlaying/remote/8D44B8A5-CF13-4B3A-B4DE-03AAAFF79937/754946655772210. THe iD in this address is the address automatically generated by my iPhone.
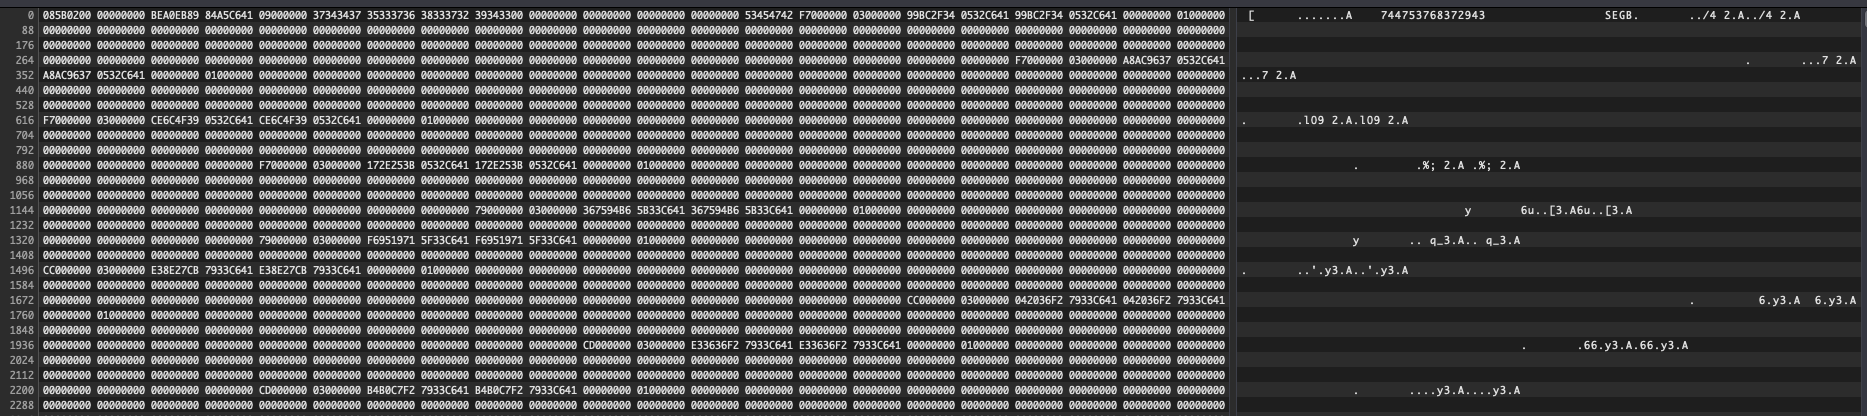
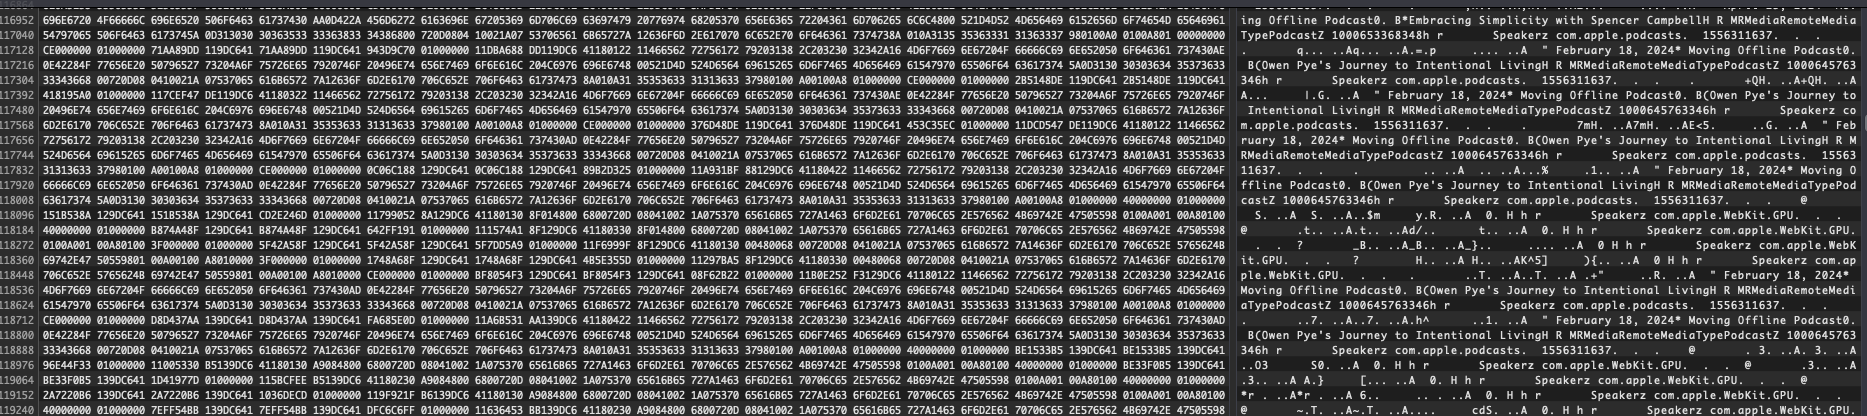
Figure 1: ‘Now Playing’ Biome feed
As you can see, when you take a deepre look into a Biome SEGB file, you will encounter activities related to that Biome category. To this end, you can see that there is evidence of podcasts being played in the example images being shown. The ‘Now Playing’ Biome entries would also show music and any other media being played by the device. Another thing worth noting is that the ‘Now Playing’ Biome entry also shows the source that the playing is coming from. All of the entries in this ‘Now Playing’ Biome entry were played from the phone’s speaker.
Since this is not a detailed explanation of SEGB, I eill move on. If you are curious about SEGB formats (Yes there are two SEGB formats documented at the moment), you can find this information from different sources. You can find it from companies like Cellebrite, Hexordia and Magnet Forensics and also from other people too.
Our next evolution from Biome data by itself is the Unified Log. Unified Logs have a combination of data from many sources. We will discover later on in the parsing section that they contain data from the Biome, Location Services, device lifecycle processes (like login, screen brightness/screen on/off), internet, and individual apps.
The original purpose of Apple’s Unified Logs in iOS was to make debugging an app easier. The logs can serve a developer very well in finding problems in their apps. First, the developer can find specific events from their app and then see what events from other apps or processes happened around the time of a certain error that they observed in their testing. For a forensic investigator, a similar phenomenon can occur. In this case, the forensic investigator can see EVERYTHING that the phone was doing in a certain space of time. This can potentially reveal more activity that may go unseen in other areas. Next in this post, I will share how I acquired these logs.
Acquiring iOS Unified Logs
I’m sure there are a few tools out there that can perform the task of dumping and parsing the Unified Logs, but the tool I will be using in this post is Lionel Notari’s Unified Log Extractor and Parser. This is a free tool. One thing I do have to mention about these logs are that they can get EXTREMELY large for just being logs. This happens, again, because they store everything the phone is doing at allpoints in time you are searching for. In another set of poingant words, they’re called ‘unified logs’ because they “bring all of your misery into one conveinient place.” (Brett Shavers) My logs totalled several dozen gigabytes and over fifteen million lines of events after performing a couple of tests of the software.
When it came to the softwate Lionel Notari provided, it was straightforward to use. Notari’s software is bundled in a couple of folders, a folder for acquisition and a folder for parsing. The root of the package, as shown in Figure 2, contains the two folders a readme file and a requirements file.
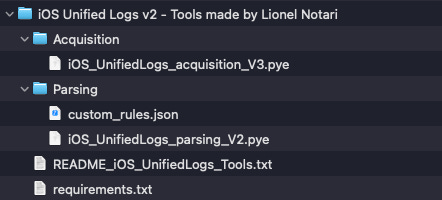
Figure 2: The entire package of Lionel Notari’s Unified Logs tool
You’ll notice that the extentions on the files are PYE. This extension implies the need for the sourcedefender python extension. That, consequently is one of the requirements to run this program. The list in Figure 3 shows the rest of the requirements.
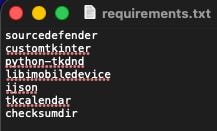
Figure 3: The requriements
Once these are installed, you can successfully run both the programs in this package. The first thing you will run is the acquisition script in Figure 2. It is run with the command: sudo python3 -m sourcedefender iOS_UnifiedLogs_acquisition_V3.pye . Doing so will spawn the UI in Figure 4.
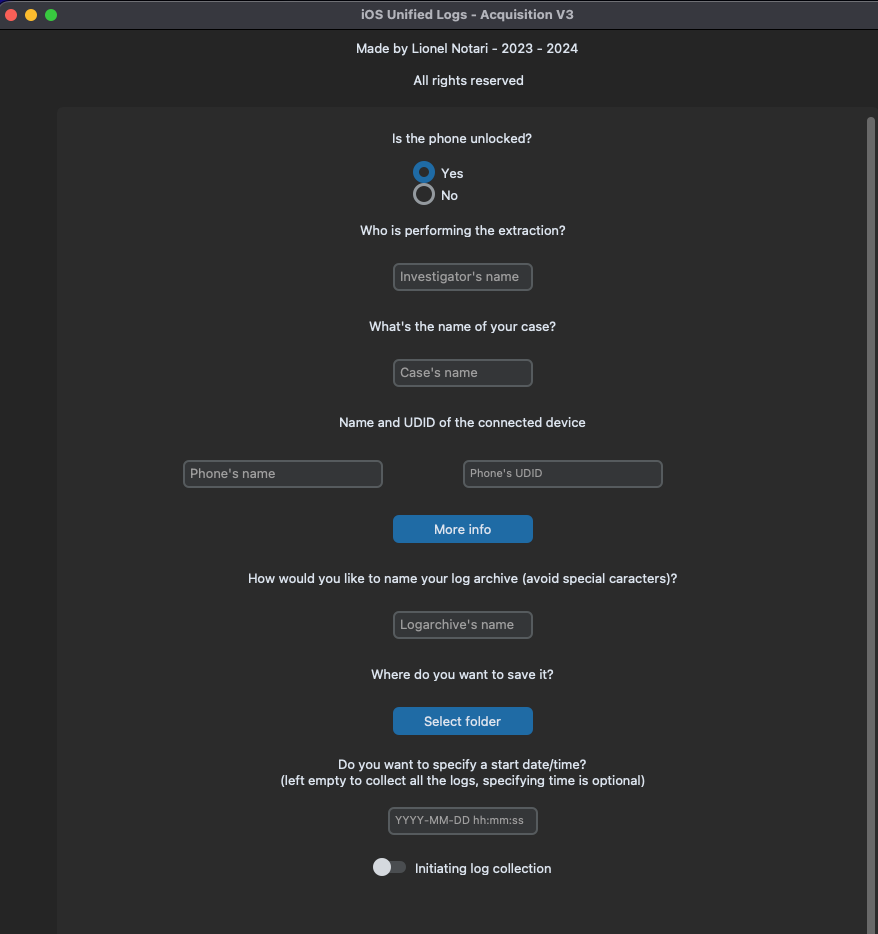
Figure 4: The UI for the log acquisition
As you can see, the logs can be filtered by date and the device’s data can be seen in this window. This hap pens because of the inclusion of the ideviceinfo Python Library. You will also notice that the output of this tool is a .logarchive file. While this is useful for people on Mac because the Console can open and view it, it is not as helpful for people on other platforms. This is one of the reasons why the parser tool is a must. The parsing tool turns the logarchive into a regular old SQL database. That is way easier to work with on a universal basis, not in the slightest because it has more columns that describe the activities with more details. Figure 5 shows an example of the view of a logarchive in the console.
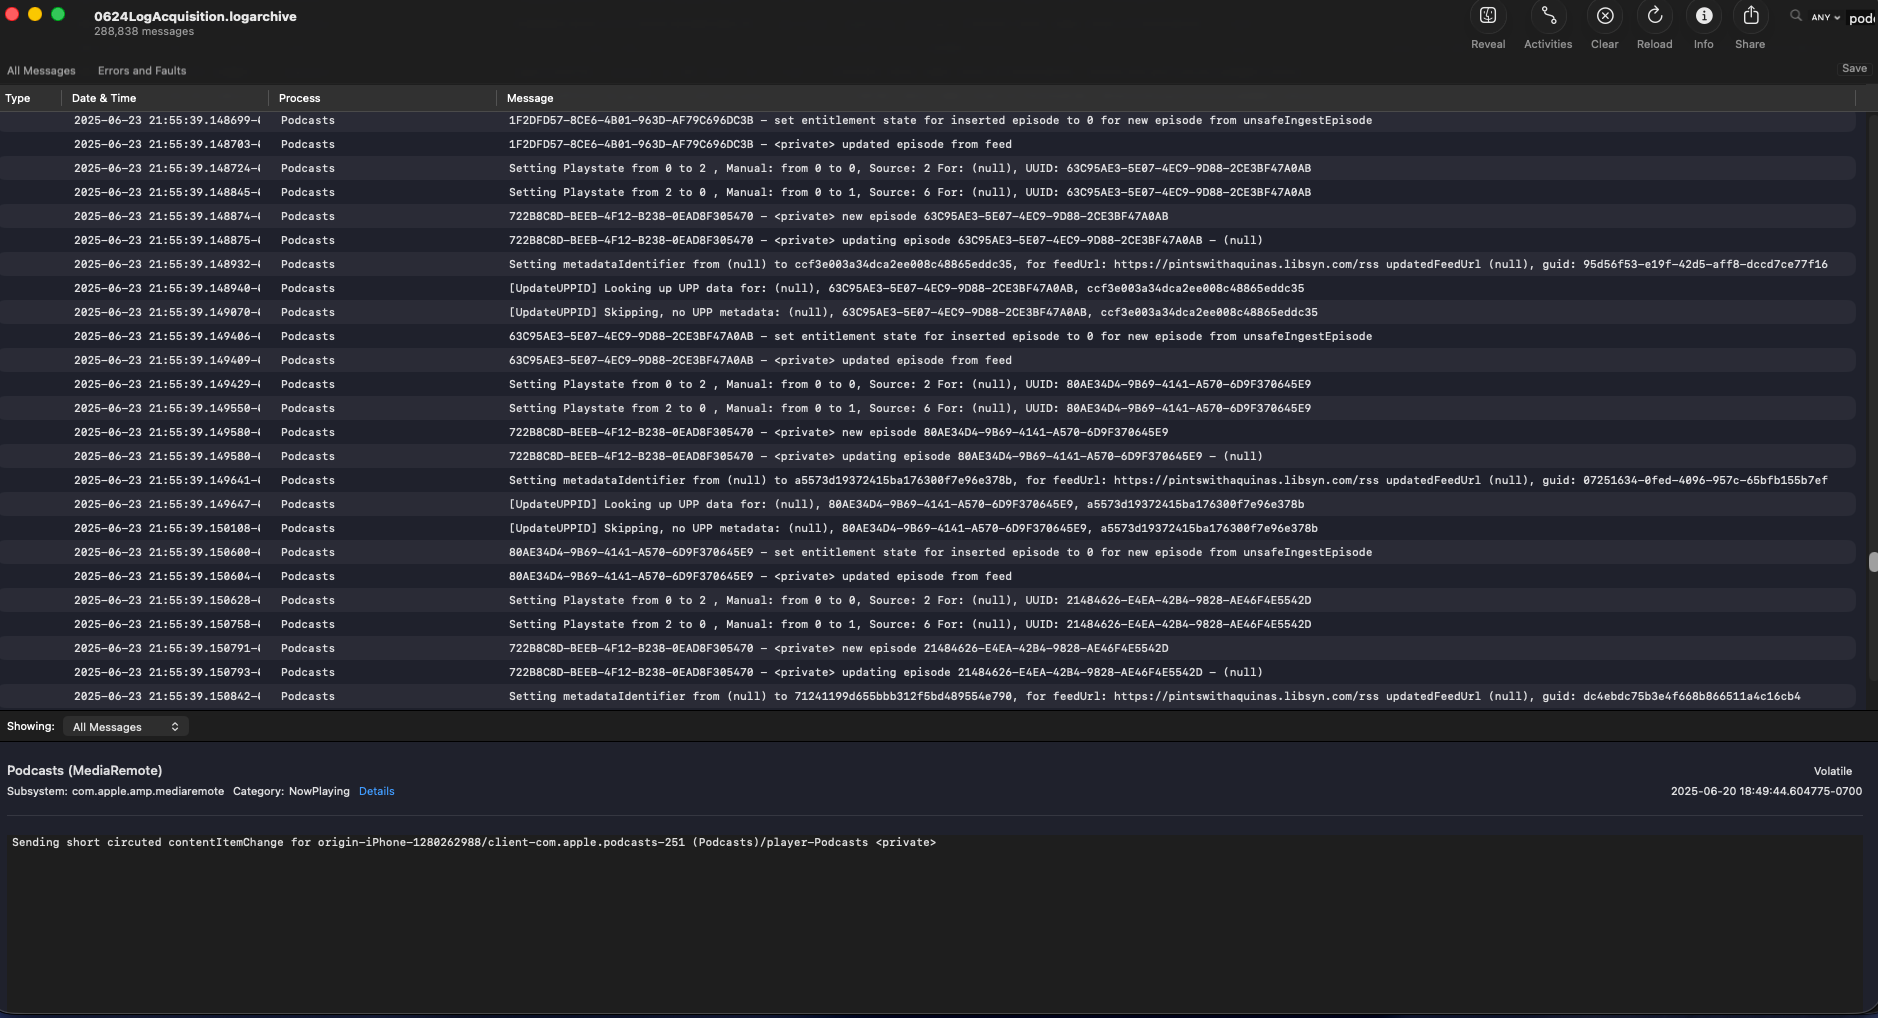
Figure 5: A .logarchive file in the console.
In the next portion of this article I will share the way the parsing script works and I will also share its output.
Unified Log Parsing
After the output of the previous script was generated, I originally fed it through the second script without checking if I could open it with the Mac. This happened because I wanted to test the program without observing the details of the output of the first script. To open this script, the command below is what you need to type in to be able to proceed with the program.
sudo python3 -m sourcedefender iOS_UnifiedLogs_parsing_V2.pye
It will open yet another Python window that will take information that will be fed into the program. This information includes the path of the .logarchive file created in the last step. It also takes in a name to create the new database based off of the .logarchive. This program creates a database, which is in fact two databases. One database is the database with all of the entries in the original .logarchive file and the other is a filtered database based on a filter list.
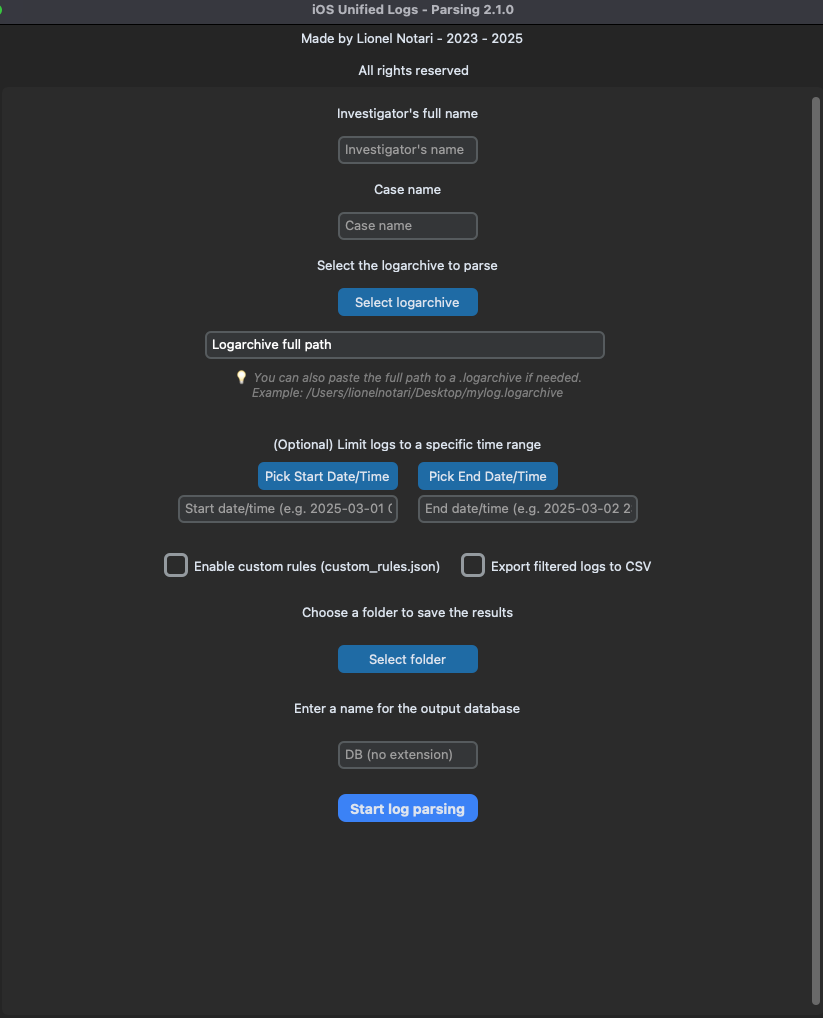
Figure 6: The Parsing.pye UI
The filterlist that the program uses is known as custom_rules.json. This list is optional, above all. It is composed with a imple query structure shown in Figure 7.
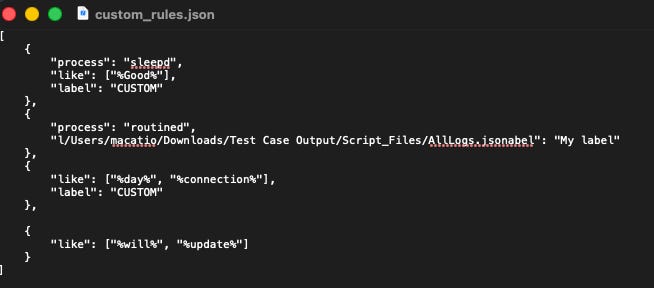
Figure 7: Filter List example rules
Using the filter list may omit a great deal of the rows that the filtered database shows because it leaves out anything not matching that query. This means that if you have a regular database with five gigabytes of data in it (containing around ten million rows), it can be simplified to only around a dozen megabytes, with the right filters in the list. This is great data savings, especially if you want to share this database with a teammate, with the court, or with anyone else.
One other way to reduce the amount of lines shown in any of the databases is to filter by dates and times. As is evident by this statement, knowing the dates and times you would like to filter by is important because there are often millions of lines to traverse through to find the information you need. There can often be hundreds or thousands of lines with irrelevant dates, such as 1969-12-31 or others that are beyond the scope of your case.
Even for the dates relevant to your case, you will see a great deal of rows that contain data that is just noise. Things such as screen timeout, screen on/off, app transactions, kernel events, and miscellaneous app launches in the periods of time that you are looking for may distract from the real necessary information of the case. This is why the filter rules and the date range fields, when both used together, can be extremely helpful. Such is the case because with the above filter rules, the program shrunk the filtered list to only around twenty-five megabytes. This is a great space savings!
The program also generates a larger list in JSON format. I attempted to open it with my Mac, but I could not. It’s most likely just a list containing all of the same information that the non-filtered log has.
At this point, I have talked about both the acquiring and the parsing program for the Unified logs. I will share more of the information in the logs that I acquired using the software and give some parsing notes for my case in the next post.
Conclusion
In this post, I introduced iOS unified Logs, described them in relation to other data structures and talked about how they can be acquired using Lionel Notari’s Unified Log Acquirer and Parser tool. If you enjoyed this, make sure to subscribe to see part two in your inbox and see all future posts. Also, if you become a paid subscriber, you can feel great about supporting an up-and-coming DFIR Investigator to acquire all of the knowledge and tool-based experience to be a greater part of the community.
So, until next time, this has been Matt of Forensics with Matt, talking about the iOS Unified Logs, how to acquire them and how to make them into a universally readable format. Peace, Matt OUT!